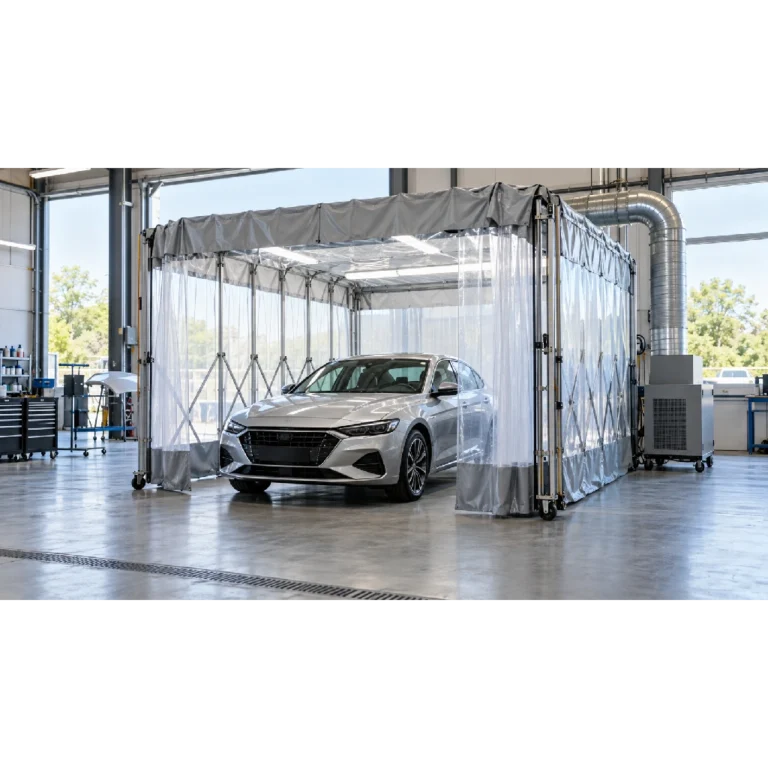

A mobile retractable enclosure gives a repair team a protected working area that can be folded away when the job is finished. Setting one up involves more than pulling the frame around a vehicle: the space must suit the repair, allow people to work comfortably and, if spraying is planned, accommodate suitable extraction. A few checks before opening the enclosure can prevent awkward changes halfway through the job.
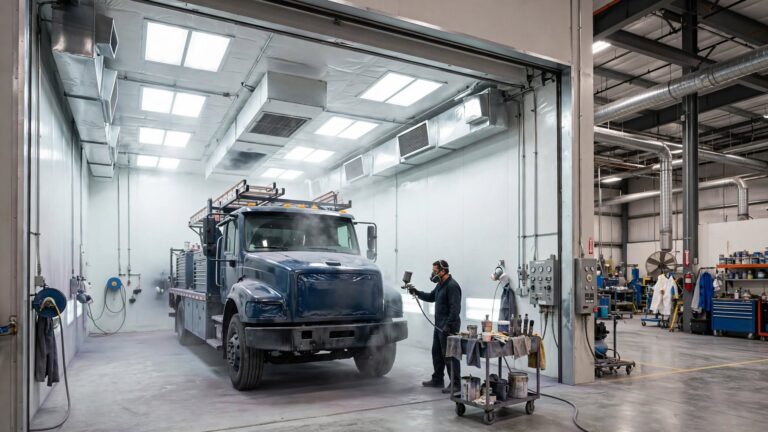
Start with the work itself. Preparation, sanding segregation, inspection and protected storage can all benefit from an enclosed area, but each puts different demands on the layout. A localised panel repair may need room for a technician to move around one side of a car. A commercial vehicle repair may need access around a much larger workpiece, along with space for equipment and materials.
Measure the vehicle or component at its widest and tallest points, including anything that will stay attached during the repair. Then consider the working space around it. Doors, panels, tools and inspection lights all need room to be used without pressing against the enclosure sheeting. The enclosure should be sized for the work as it will actually happen, rather than for the vehicle alone.
Think about where the job will sit in the wider site. A fully mobile enclosure can be repositioned as work changes; a fixed retractable version makes sense when the same bay is used regularly. In either case, check how people and vehicles will reach the area and where the enclosure will sit when folded away.
Clear the floor and identify anything that could obstruct the frame or damage the sheeting. Check that the floor and the planned position suit the particular enclosure and follow its setup instructions for securing or positioning it.
For outdoor work, use a version specified for external conditions and assess the weather and site exposure before setting up. For indoor work, make sure the expanded enclosure will not block essential routes or interfere with nearby operations.
For example, a workshop may have enough open floor area for a van repair, yet the space beside the van may also be used to move parts between bays. Extending the enclosure across that route creates a practical problem even if the van fits inside. Marking out the working area first helps the team choose a position that supports both the repair and normal movement through the workshop.
Position the vehicle or component so the repair area is accessible from the side where the technician will work. Allow for any equipment that needs to remain inside or immediately outside the enclosure. Before extending the frame, confirm that its travel path is clear and that the sheeting cannot snag on the workpiece.
Extend the enclosure according to the manufacturer’s instructions, checking that the frame and sheeting settle into their intended positions. Inspect openings and joins, and keep the sheeting away from sharp edges. If the enclosure will be moved between jobs, make these checks each time; a layout that worked around a car may be unsuitable around a taller vehicle or awkwardly shaped component.
Once it is open, arrange tools so technicians do not repeatedly carry dusty items through the working area. Keep inspection and preparation tasks organised, and remove loose debris before finishing work begins. The enclosure helps separate the job from surrounding activity, but good housekeeping still matters to the quality of the workspace.
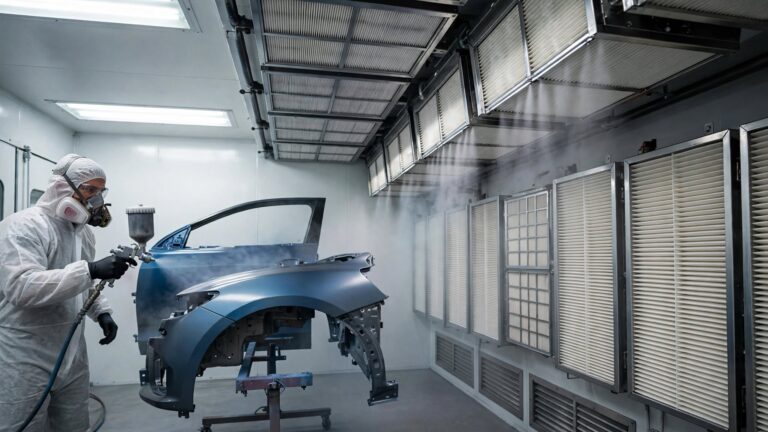
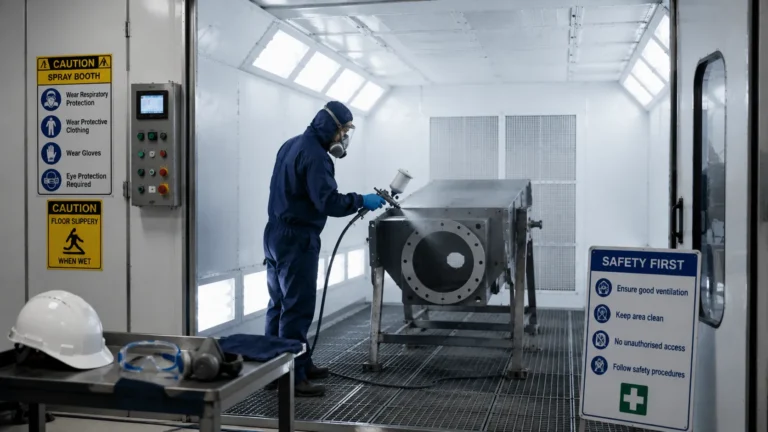
The enclosure alone does not provide spray extraction. If the repair includes spray painting, select and set up an extraction system suitable for the task before spraying starts. A mobile retractable enclosure can be paired with either a plug-in or ducted extraction system. A plug-in option can return filtered air to the workspace without ducting; a ducted option uses an exhaust that must reach a safe discharge point. Those differences affect where the job can be placed and how the work area is arranged.
With a ducted system, confirm the hose can reach the intended discharge point without creating a trip hazard or obstructing movement. Check the available power supply, filter condition, and maintenance requirements for the chosen unit. Extraction performance depends on correct setup and upkeep, so the equipment instructions and the site’s spray procedures should guide the final arrangement.
Consider the change in requirements if a job begins as dry preparation but later needs a paint touch-up. The enclosure may already be in the right place for sanding and inspection, yet the extraction equipment might need power, room for its hood, or a route for an exhaust hose. Deciding that before the vehicle is enclosed avoids rearranging the bay after preparation is complete.
For more detailed information on this topic, read our guide on How Spray Booth Filters Improve Air Quality and Performance.
Before work begins, walk around the expanded enclosure. Confirm that technicians can reach the repair area, openings operate as intended, and equipment has a clear place to stand. Check that lighting lets the team inspect the surface and that the chosen extraction arrangement is ready if spraying is part of the job.
After the repair, follow the relevant process for clearing materials and dealing with any dust or overspray. Inspect the sheeting and frame for damage, and attend to filters and extraction equipment in line with their maintenance instructions. Fold the enclosure away only when tools, hoses and loose items are clear of its path.
A useful setup starts with the repair footprint, then works outward to access, site movement and extraction. That order helps the enclosure serve its purpose: a protected area when the work needs one, with the floor available for other tasks afterward.